
No products
Categories

HOW TO APPLY DECALS & HOW TO USE GLUE
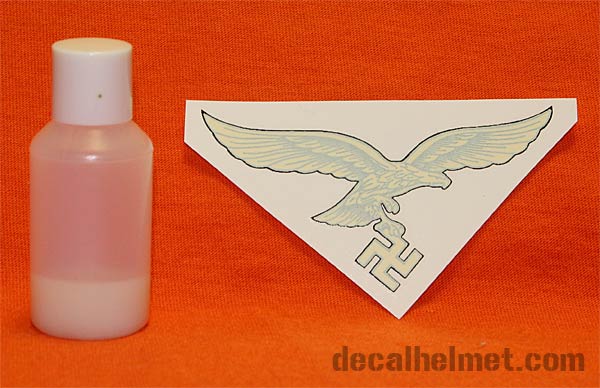 |  |  |
DECAL PERFECT LACQUER :
remove excess glue and bubbles with a damp sponge .
do not try to remove all the glue under the decal, even if it seems that it is thick it’s normal, and it will completely disappear with the drying.
LET SOME GLUE UNDER THE DECAL
When drying the glue will retract, the decal will perfectly fits the helmet. Once the glue is dry, not before 5 to 7 days, you can still improve the resistance by exposing the helmet in the sun for a quarter of an hour, or by passing a heat gun shot (set not too hot ! ) the aim is to heat it.
IMPORTANT : Final drying time is 5 to 7 days. DO NOT ATTEMPT TO THE OLD OR BEFORE THE HEAT ! Before and during the phase of asking a decal is very fragile to handle so with great caution. A problem during installation, a question about how to use decals? contact me.
=====================
DECAL PERFECT REPLICA & PRE-AGED
C'est de la décalcomanie classique, comme pour les maquettes. Trempez le decal dans l’eau durant une bonne dizaine de secondes, sortez le puis attendez et vérifiez qu’il glisse de son papier support. Recommencez à le tremper si nécessaire. Le temps d’attente peu varier en fonction des températures. Quand le decal glisse parfaitement sur son support papier, avec le doigt mouillez le casque là où sera collé le decal, puis transferez-le. Vous avez quelques secondes pour l’ajuster. Sinon placez 1 ou 2 gouttes d’eau en bordure haute du decal pour que l’eau passe dessous ce qui vous permettra de finir de l’ajuster. Passez pour finir une éponge humide pour chasser les éventuelles bulles.
ASTUCE : vous pouvez utiliser une de nos colles spéciales décalcomanies que vous trouverez ICI
IMPORTANT : le temps de séchage définitif est de quatre à six jours en moyenne. Avant et durant la phase de pose une décalcomanie reste très fragile, à manier donc avec la plus grande précaution. Un soucis lors de la pose? contactez-moi.
=====================
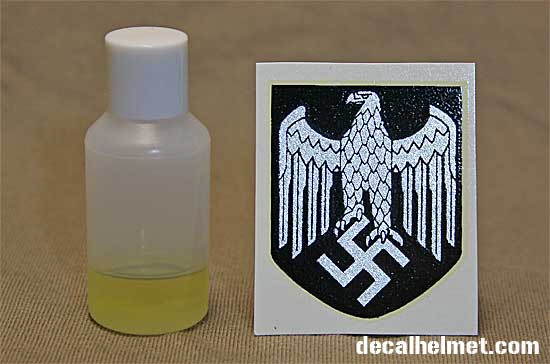
PREMIUM DECALS/GLUE
== instructions for apply premium decal ==
This adhesive resin 'perfect replica' is exactly the same glue that was used for apply decals in factories of German helmets.
Materials needed: a small brush, water, a wet sponge, cloth and turpentine.
CAUTION do not confuse gasoline with turpentine and turpentine.
You need pure turpentine.

If you then want your old your decals, know that this is long glue to harden under the decal . Wait 7 to 10 days before the start aging, it's better.
=== 1 ===

You apply a layer of adhesive resin, do not be afraid to extend well beyond the dimensions of the decal.
At the same time , you also put glue resin on any item, here a lid. It will serve as a witness to see when the glue becomes very sticky.
You also put the decal twenty seconds in water and then you put it flat.


===================================
=== 2 ===

We must apply the decal at the good time. The glue is a natural resin diluted with turpentine. When turpentine evaporates, the resin will become sticky, very sticky.
The resin is sticky when put a little stronger finger. so you have to wait while evaporating the turpentine will make the resin more sticky, we see it if we put the finger without pressing.
Then the resin will become less sticky if the finger is placed, but she will remain tacky if the finger seconded above. it is at this point that we must place the decal.

Now comes the tricky popération : apply the decal. To help you can put water on the glue , it has absolutely no impact.

With the help of the paper decal, plate the decal chasing any air bubbles and water.

You should get this result. The hardest part is done! You notice the excess glue around the decal. This is quite normal. For the moment we let the glue dry, we will remove it without problem in a few hours.
=====================================
=== 3 ===

After a few minutes, the glue is dried around, so we will remove it.
just pass a brush soaked in turpentine to dissolve the glue .
Then you place a wet sponge to clean.

A slight rub. Do not press too because do not forget the glue under the badge is still soft .

the final result: a perfectly applied decal, well bonded to the helmet and without any trace of glue.